
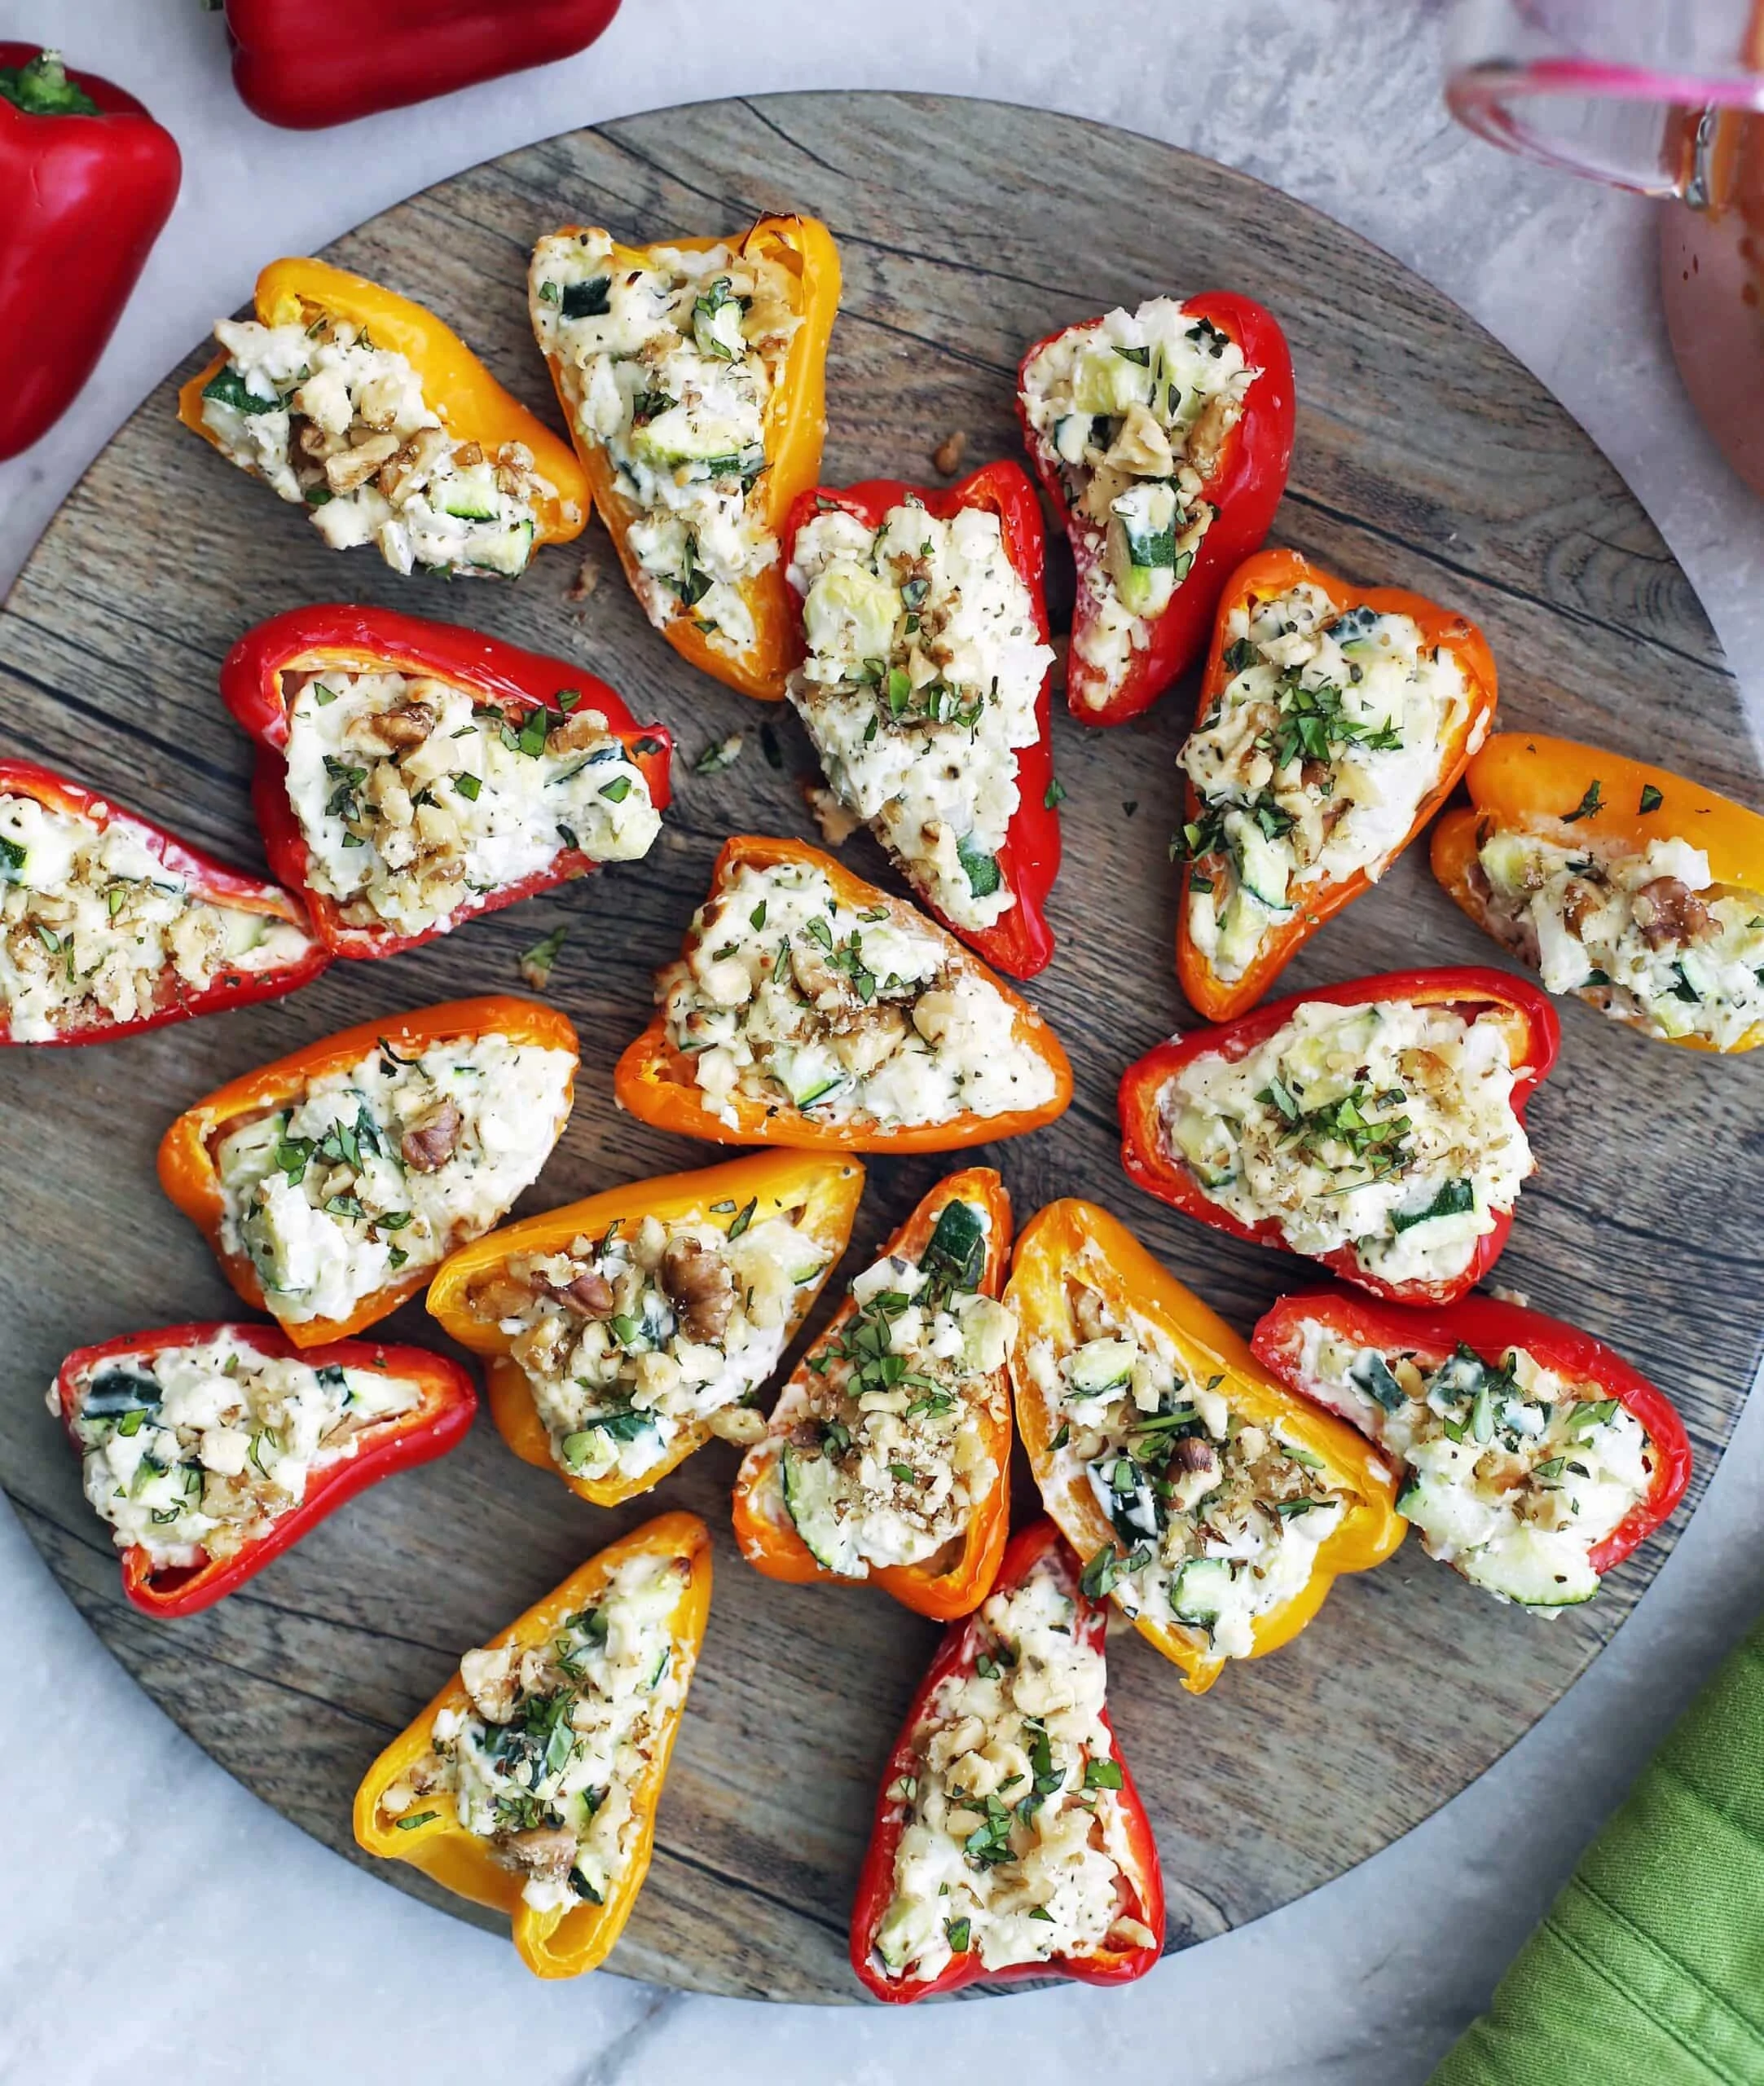


Hey there! Today, I have a quick and easy recipe for Zucchini Cream Cheese Stuffed Peppers.
What’s in these mini stuffed peppers?
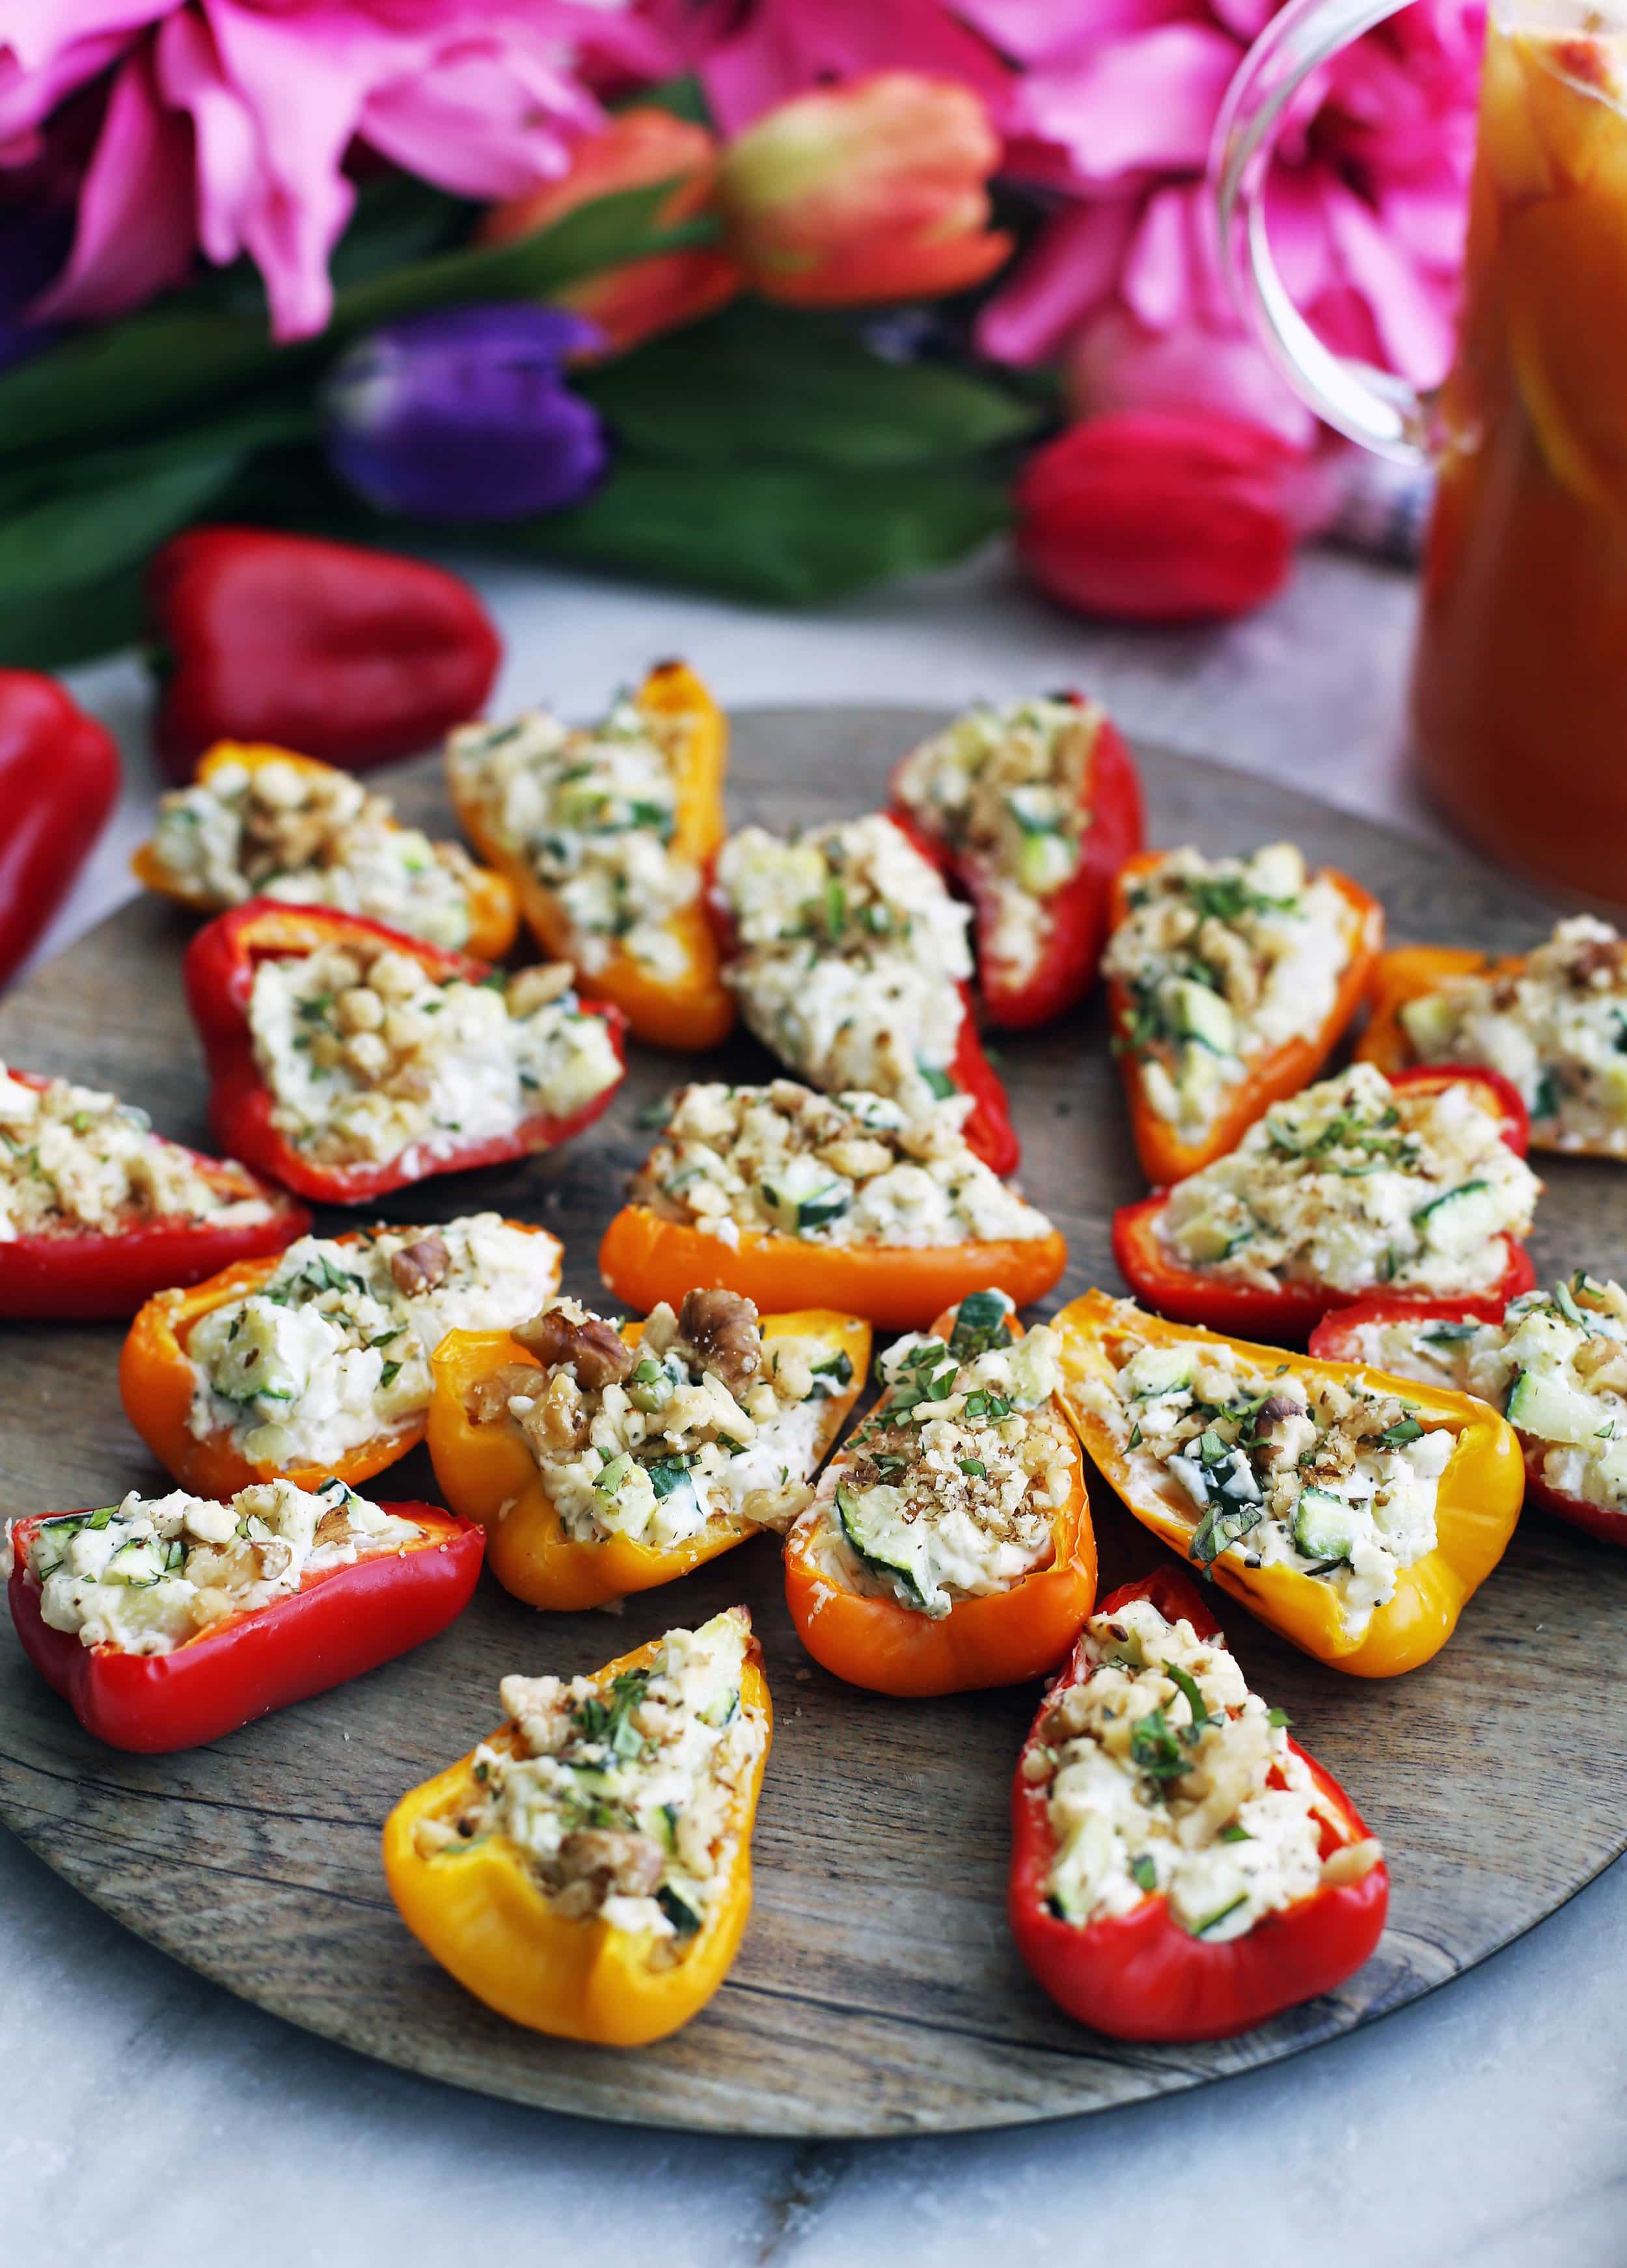
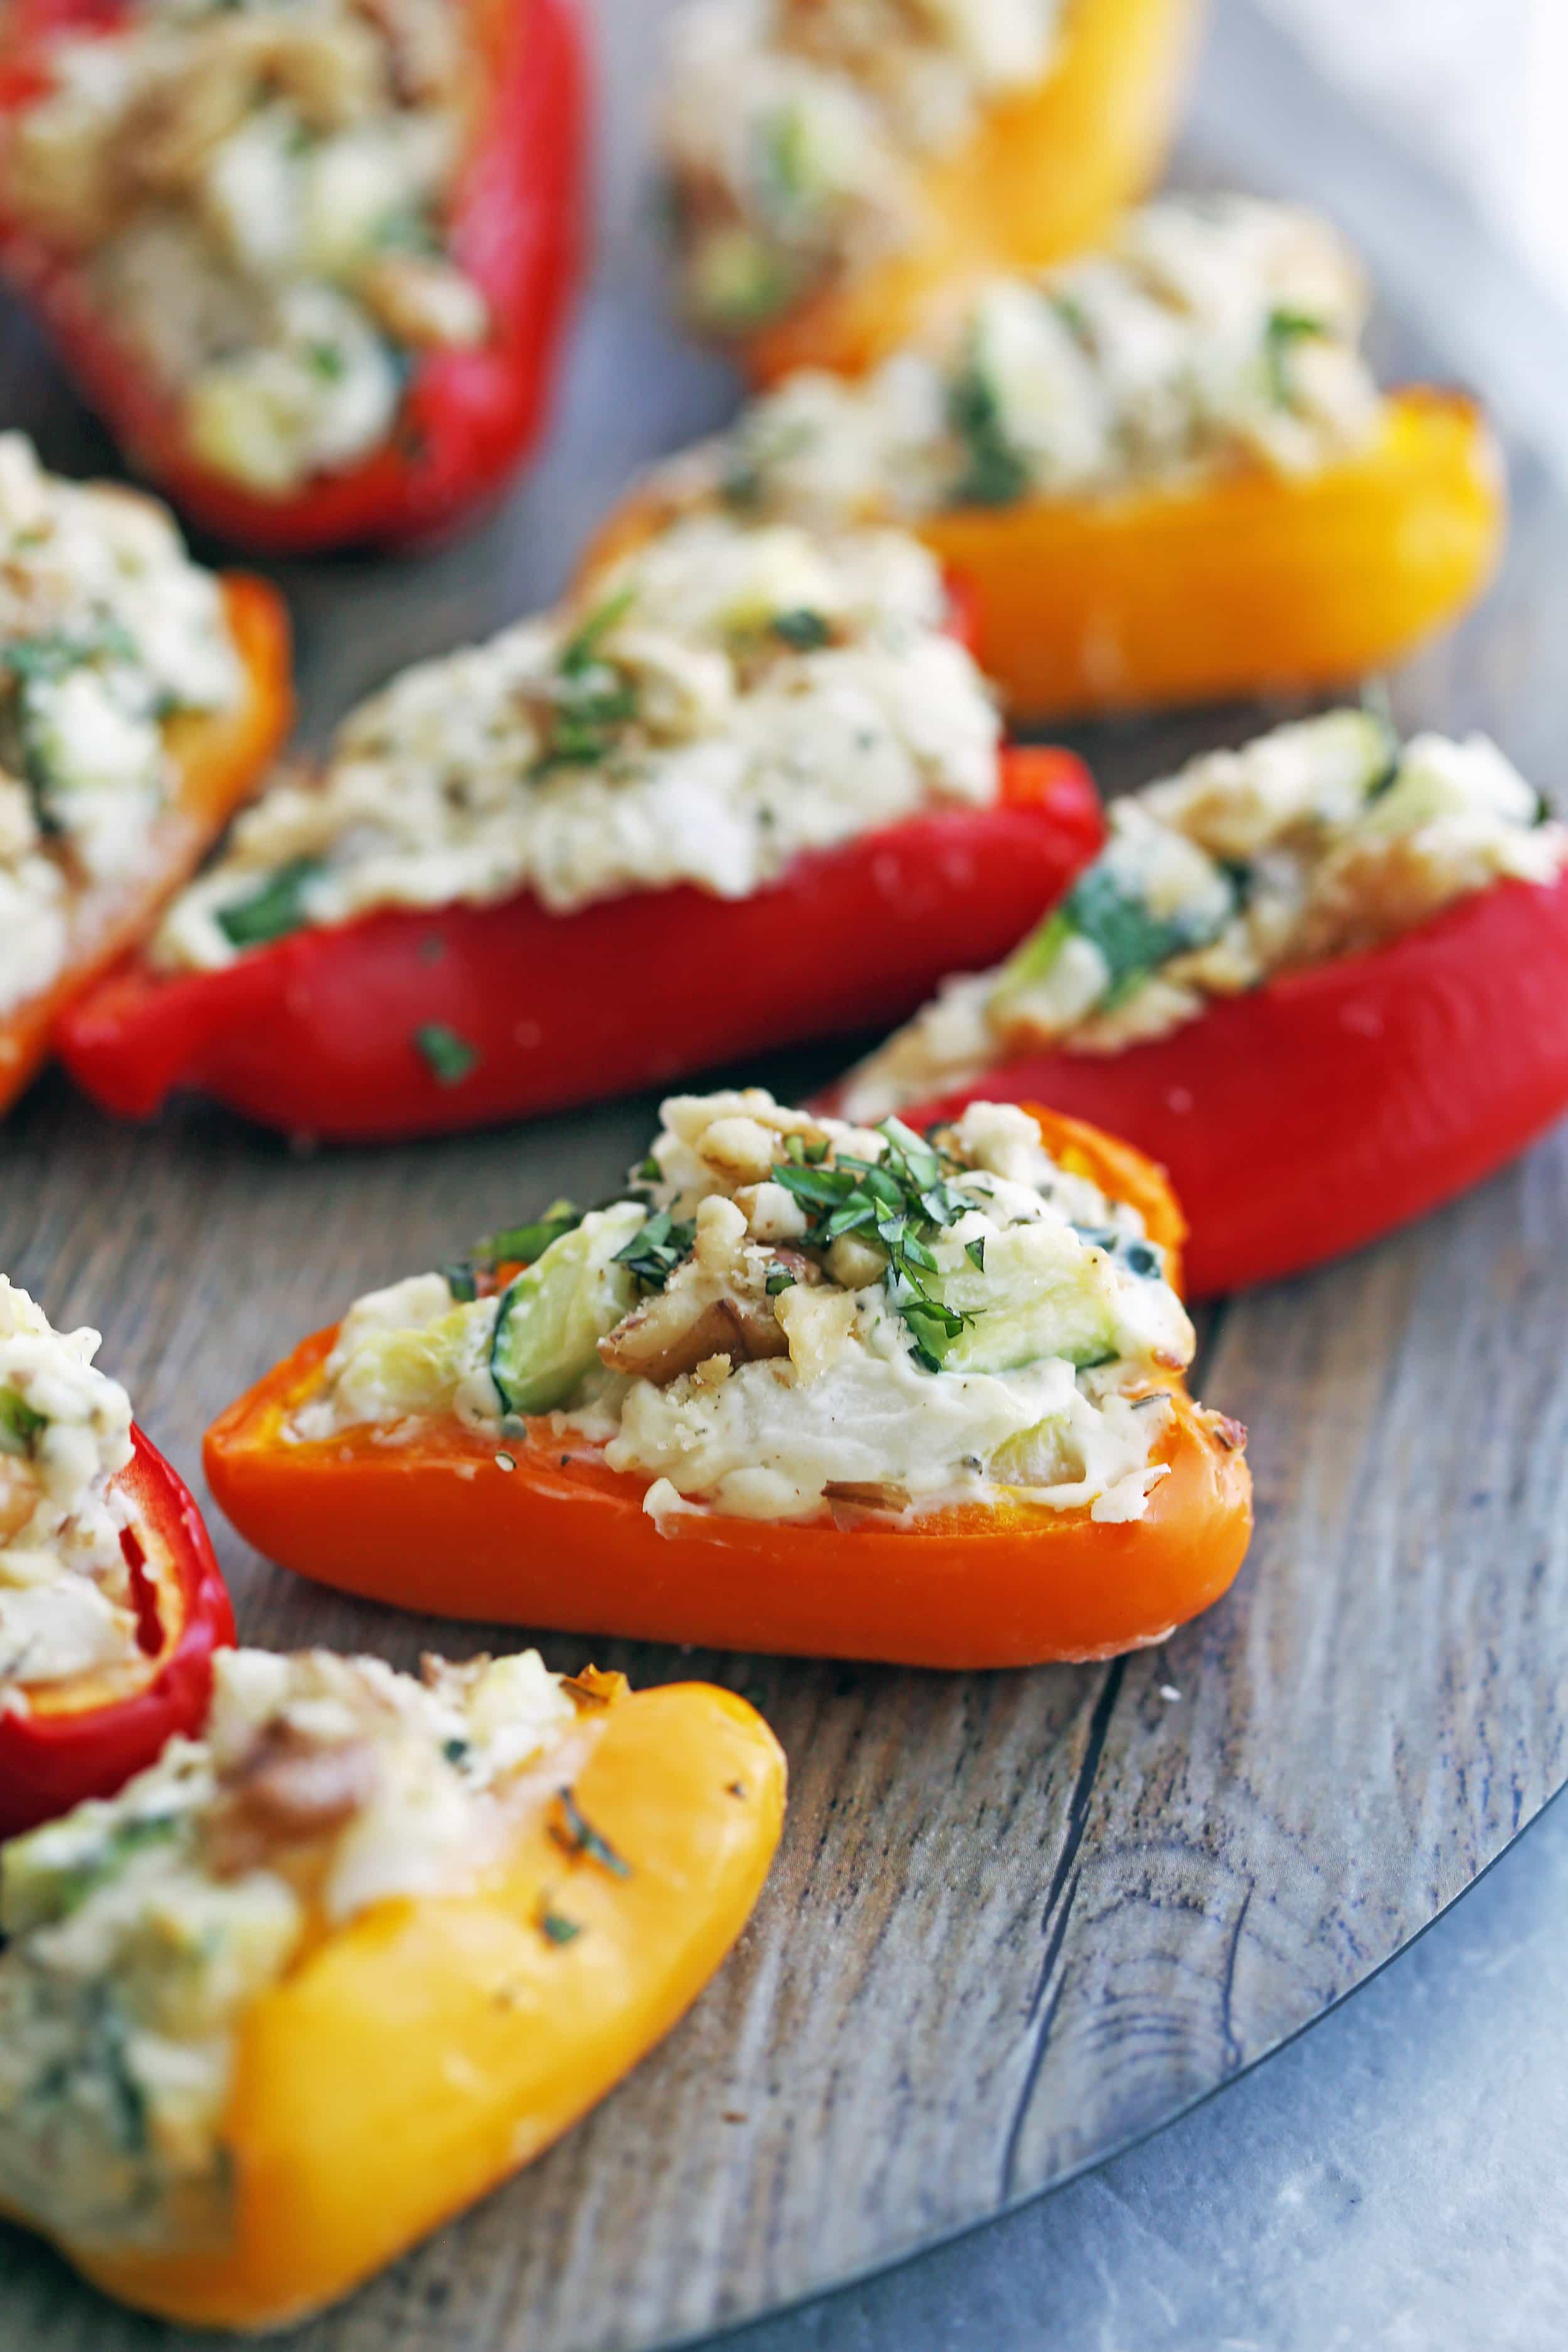
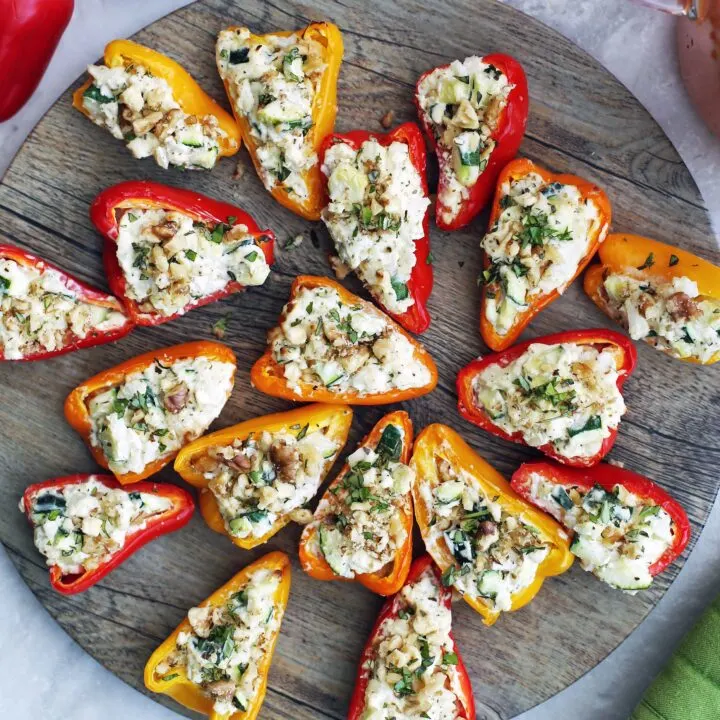
- The most important ingredient in any stuffed peppers are the peppers.I used an assortment of baby bell peppers, a colourful mixture of yellow, orange, and red ones.
- They are sweet and mild in flavour (red being the sweetest). Also, once halved and seeded, they are like tiny boats ready to be filled with delicious filling and baked until they are tender yet still sturdy enough to hold the filling.
- The filling is so simple yet it’s full of flavour.
- It’s base is plain cream cheese, which is soft, creamy (especially when warmed) and mild in cheese flavour. It’s combined with diced zucchini and sweet onion, which adds a pleasant vegetable sweetness and additional texture.
- It’s enhanced through a few choice spices, which includes garlic powder, which has a garlicky, slightly sweet flavour that’s not overpowering as well as dried oregano, which has warm, slightly bitter, and aromatic properties.
- It’s also combined together with the ever popular, salt and pepper (I always go for sea salt and fresh cracked black pepper), which makes (almost) everything taste so much better.
- Then there’s the finishing touches:
- Crunchy walnuts that gives this appetizer additional crunch and sweet nutty notes and a small amount of fresh basil, which has an assertive pungent and sweet smell and peppery taste.
How to make these cream cheese stuffed peppers?
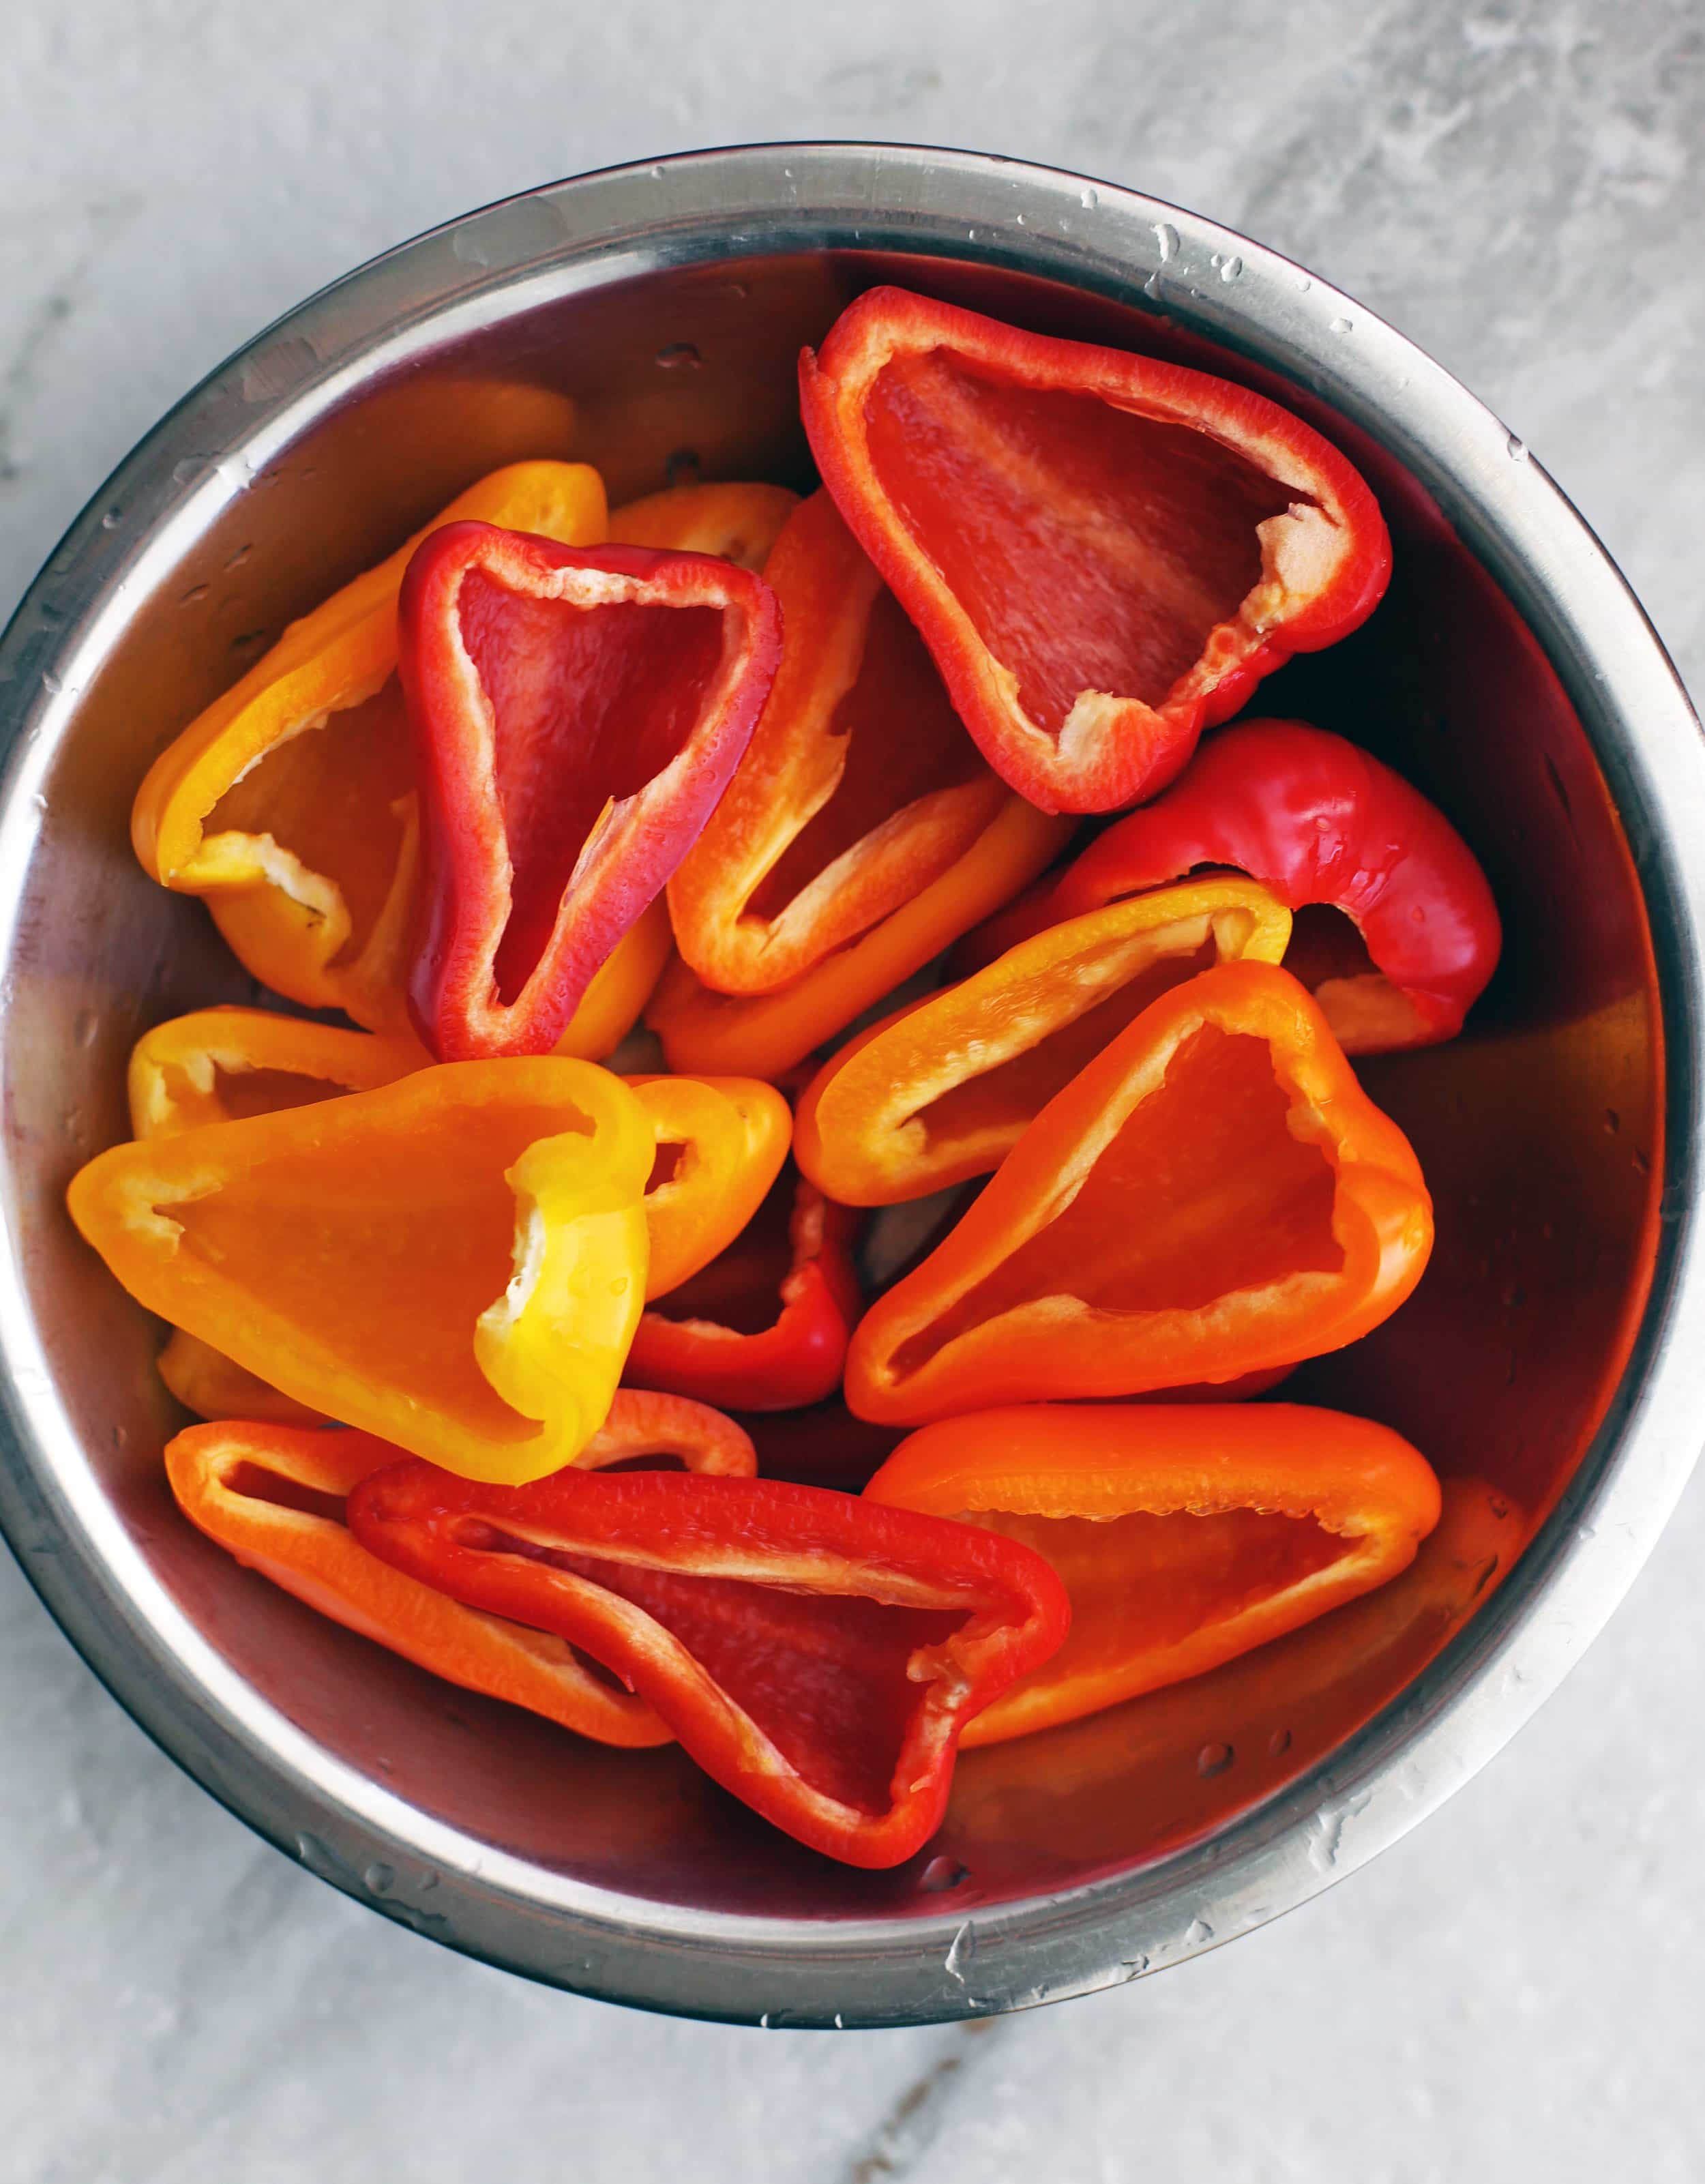
Slice ten baby bell peppers lengthwise and remove the seeds.Full ingredients and instructions listed in the recipe card down below.


In a bowl, combine together the filling ingredients: cream cheese, zucchini, onions, and herbs and spices.

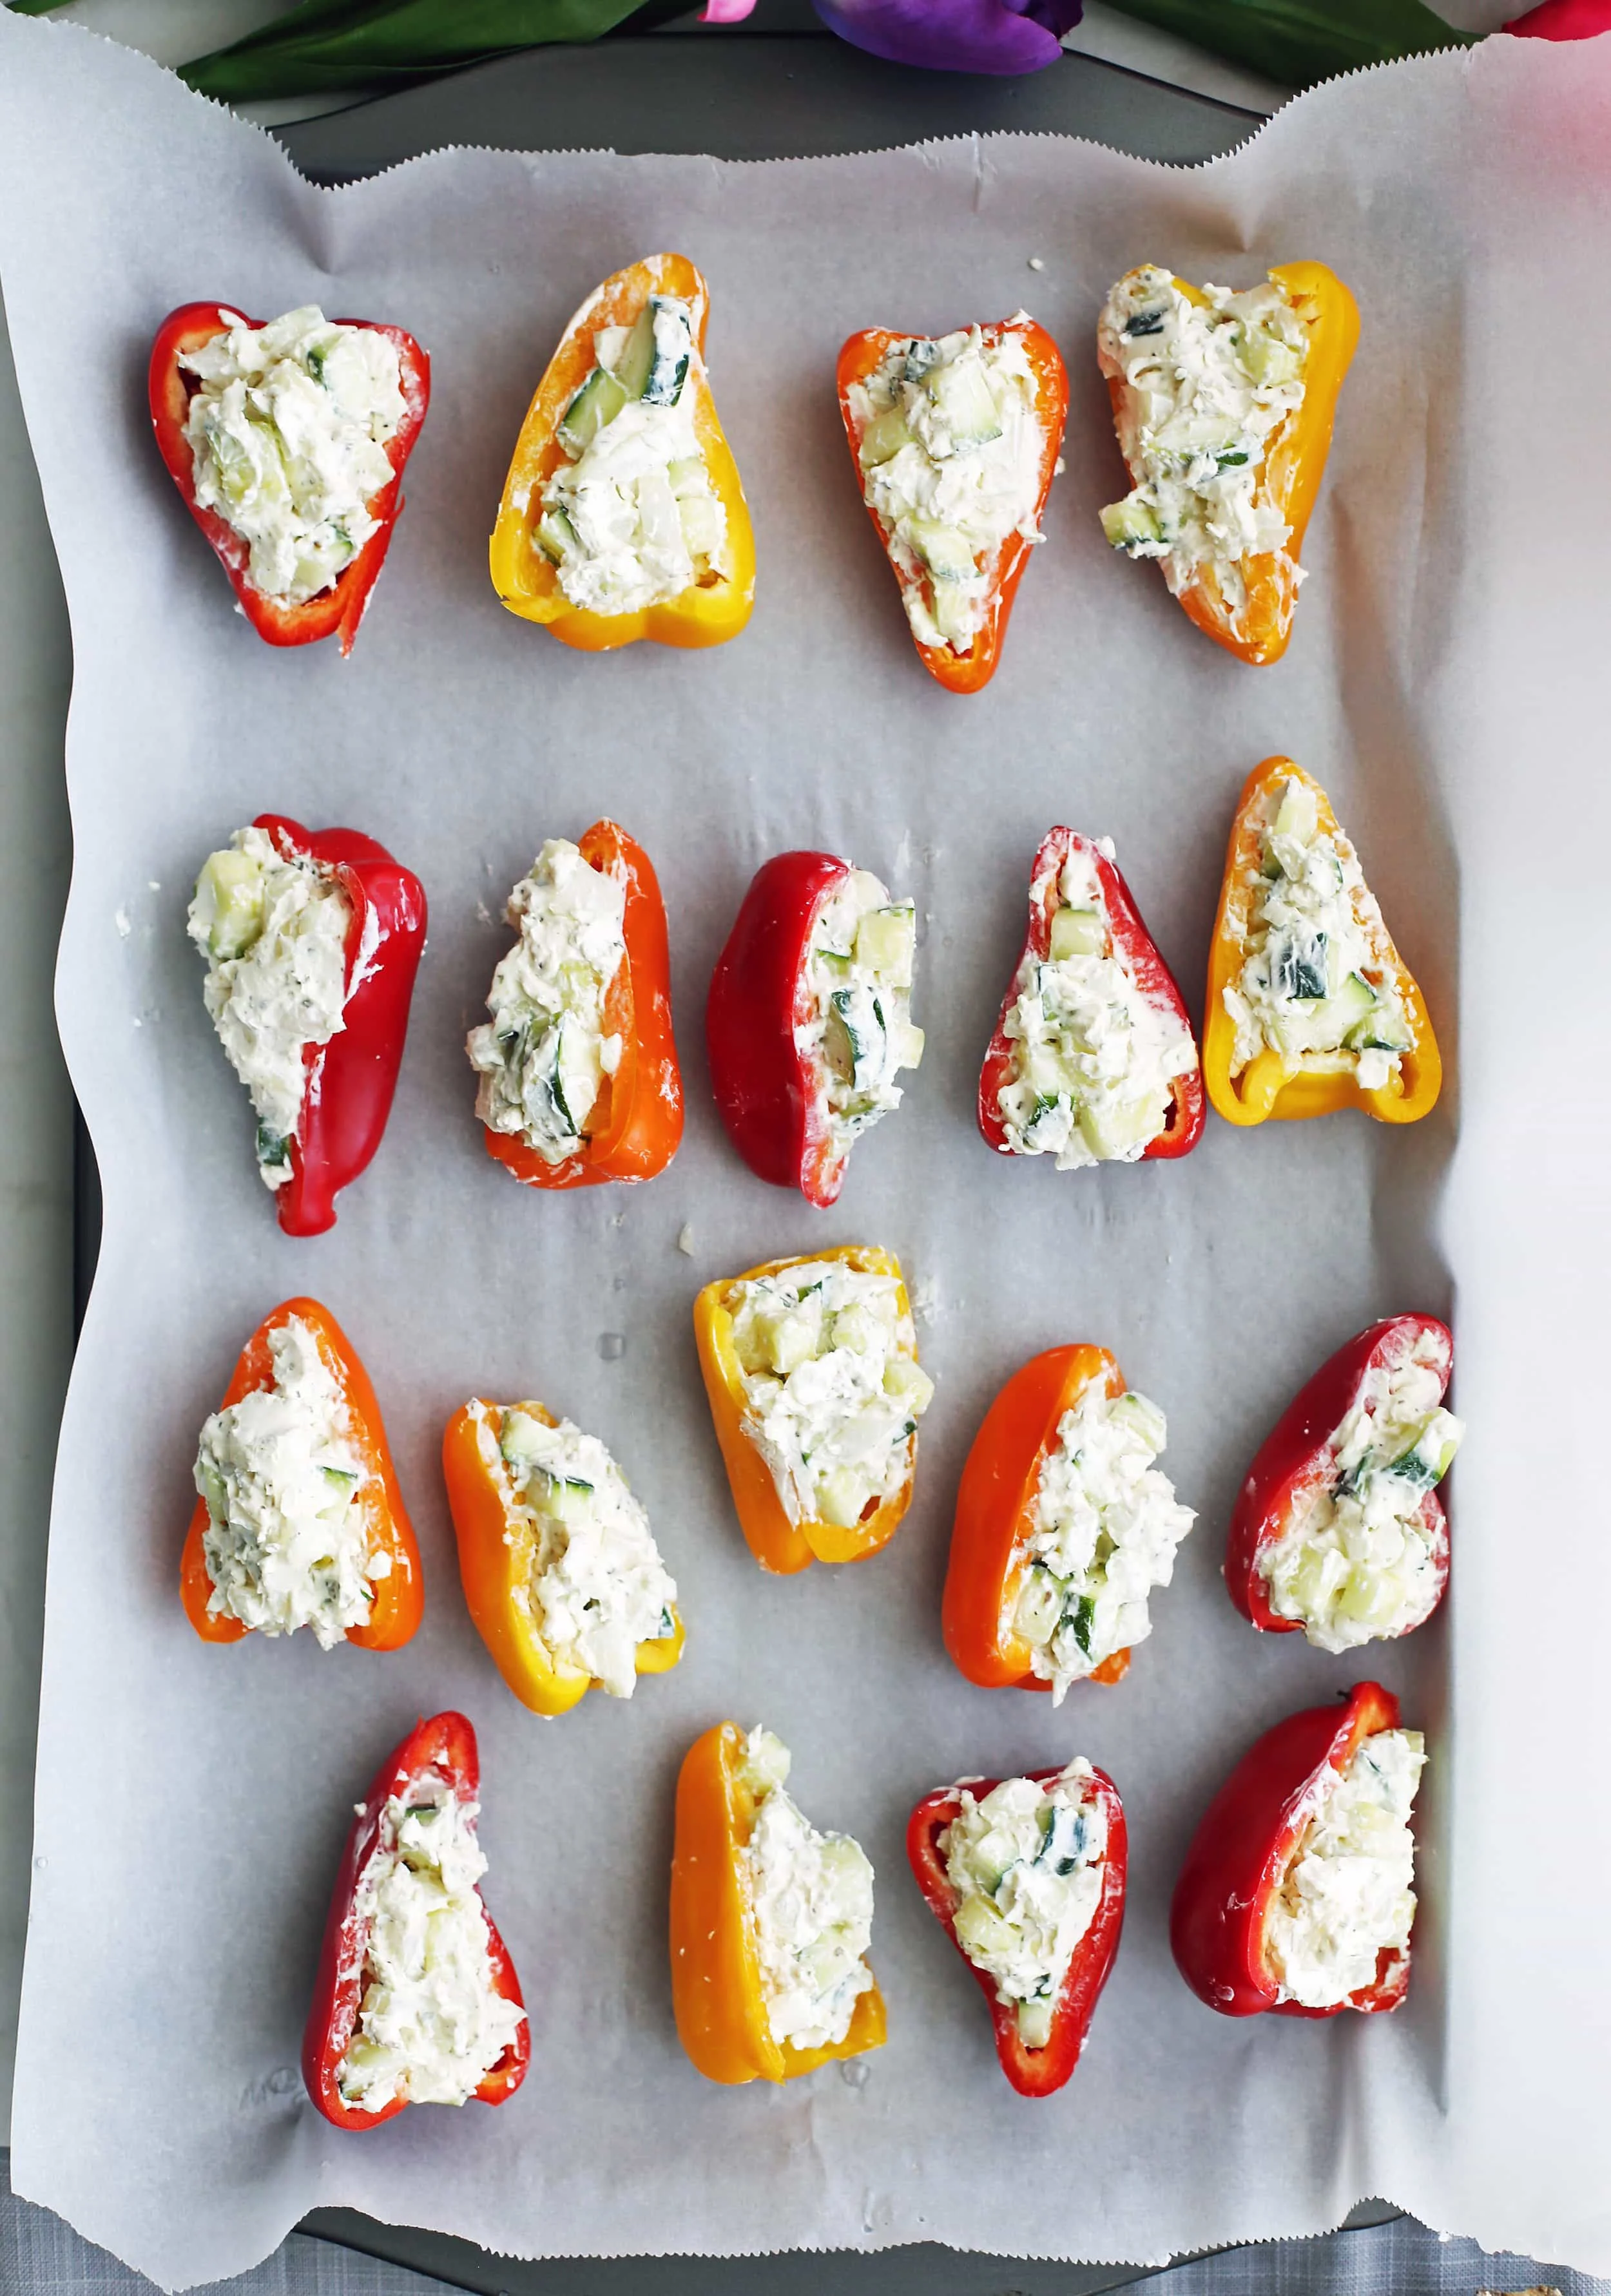
Fill each bell pepper half and place them cut side up on a parchment-lined baking sheet. Bake at 400 degrees F for 15-18 minutes.
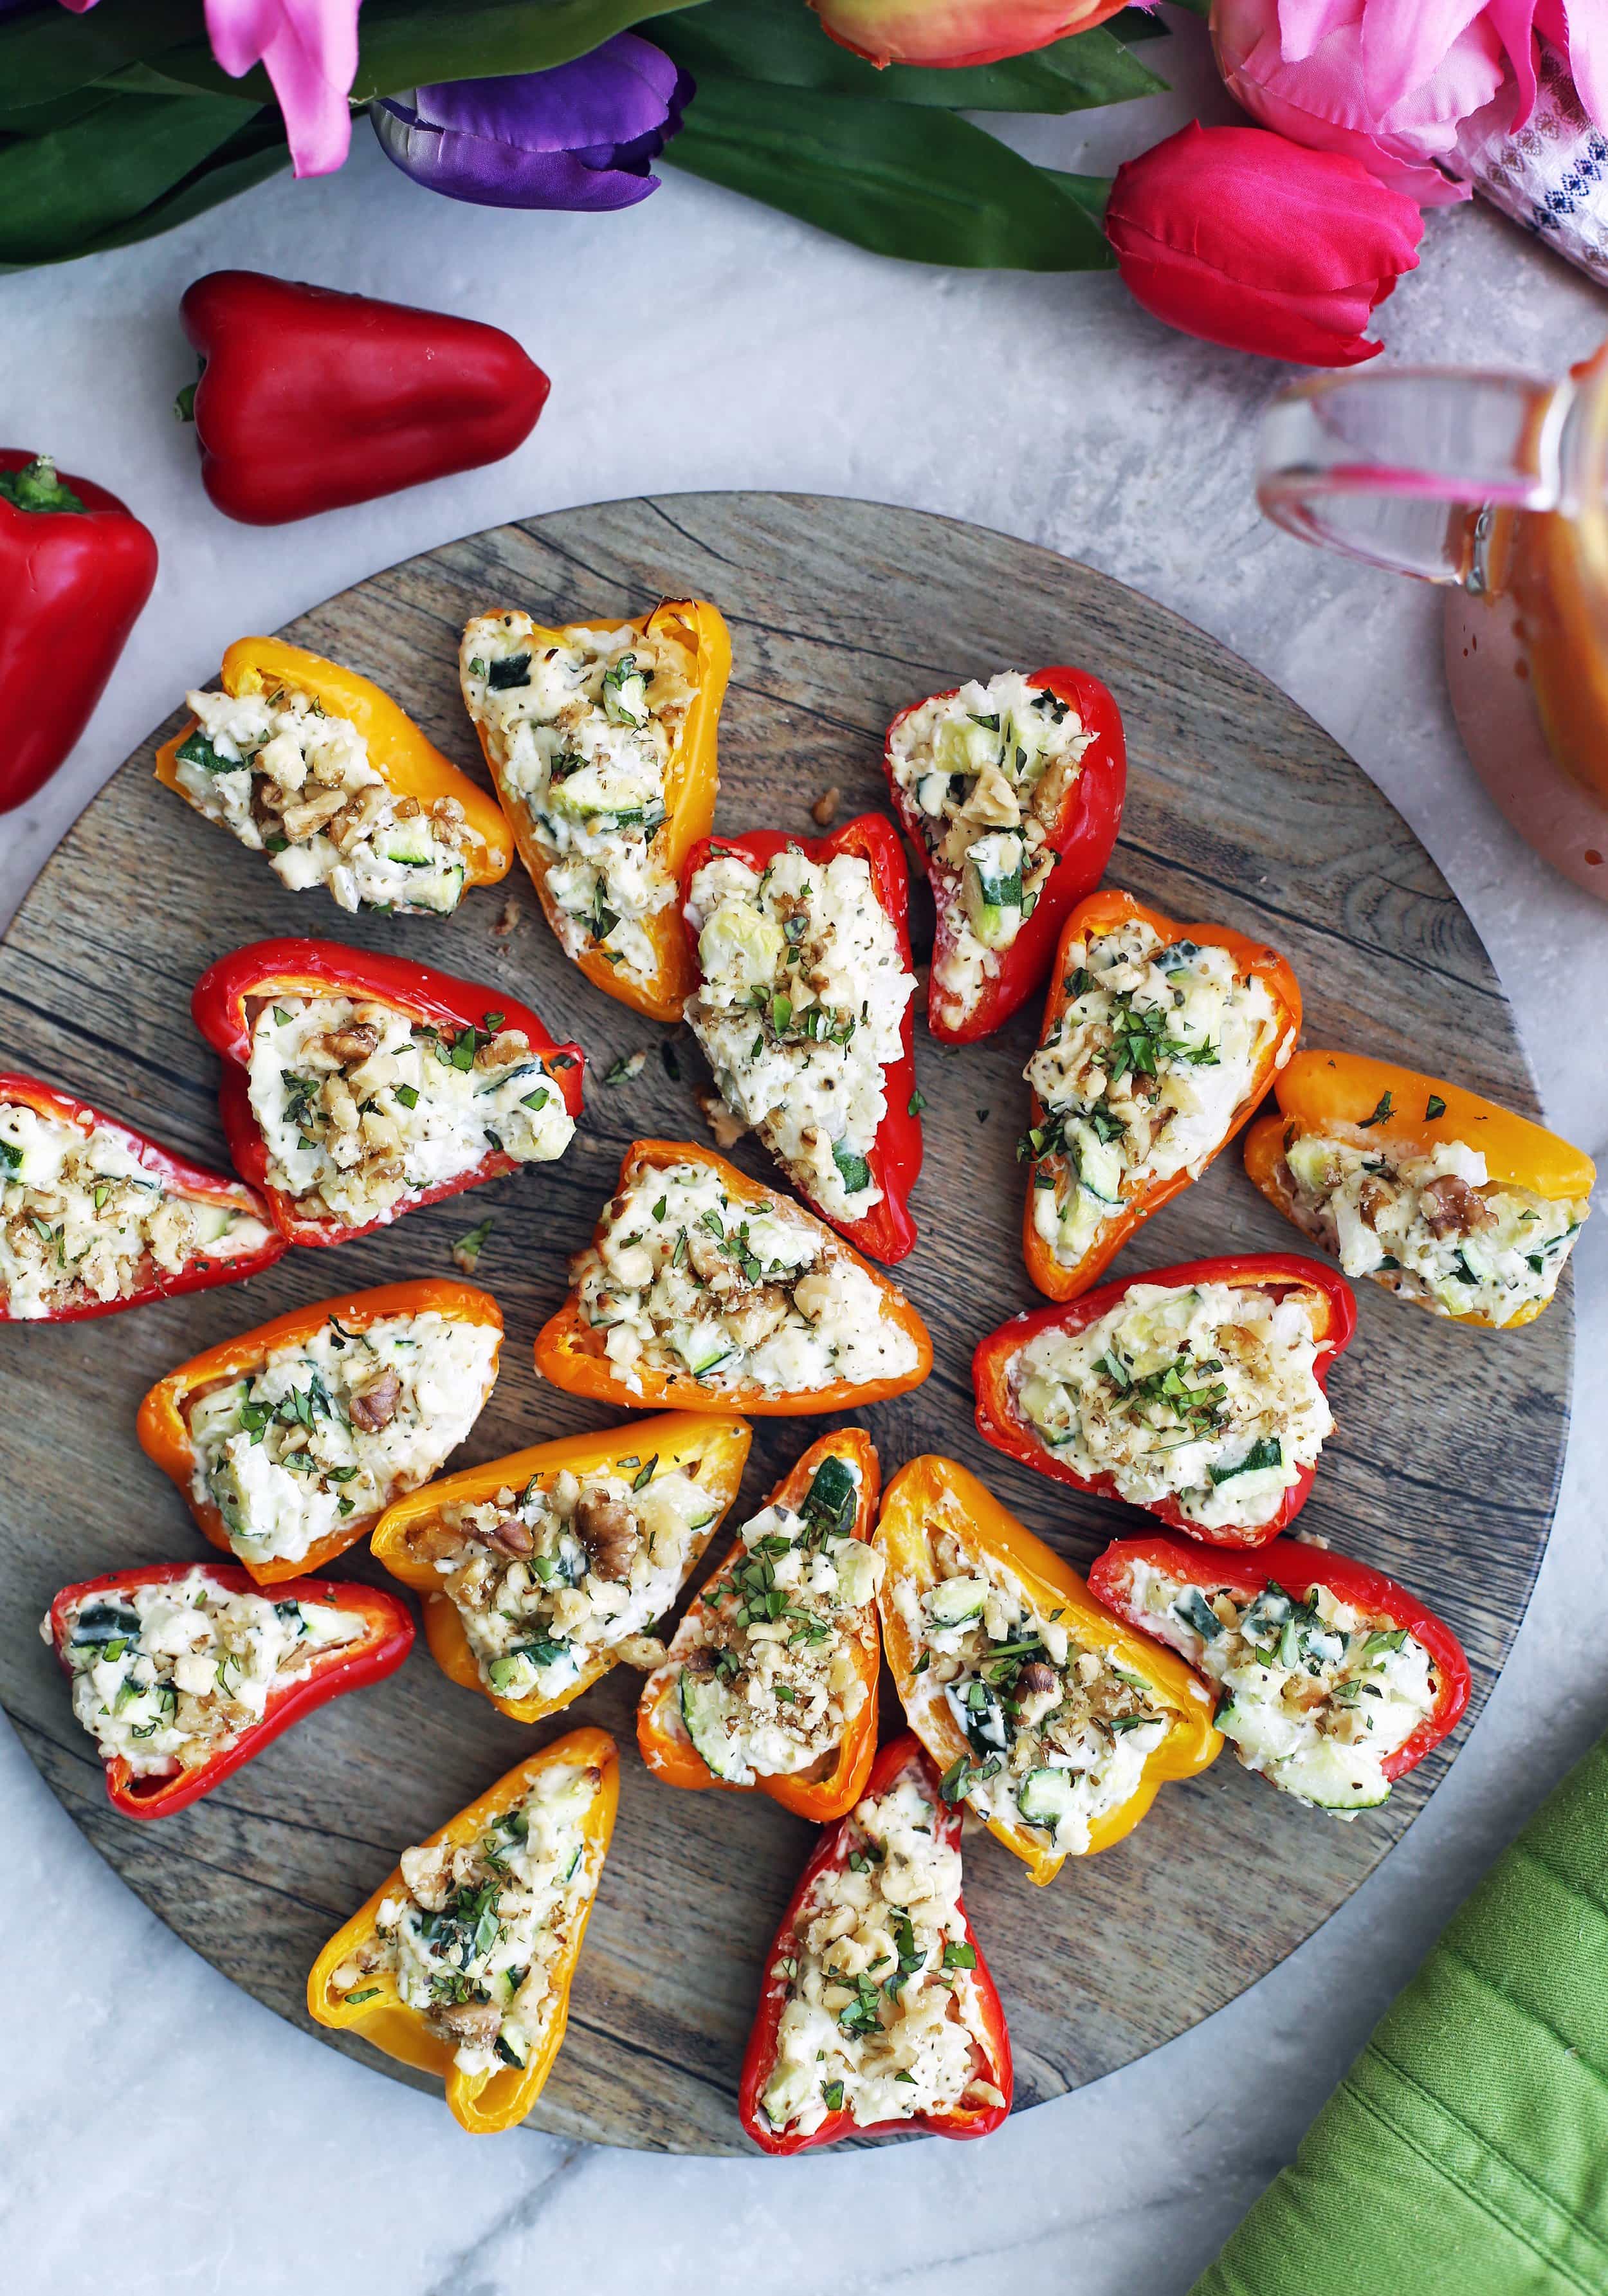

Then garnish with chopped walnuts and fresh basil. Enjoy as an appetizer or as a side dish!
These tasty bites are:
- Savoury and delicious: It’s full of tasty summer vegetables and cream cheese.
- Full of pleasing textures: Warm creamy cream cheese, tender zucchini and onions, and crunchy walnuts all in a tender, yet firm, baby pepper.
- Easy to assemble: No special equipment such as a food processor or stand mixer needed.
- Great to make ahead: You can make these stuffed peppers a few hours in advance and bake just prior to serving.
- Easy to adapt: Switch out or add ingredients of your choosing.
- Perfect as an appetizer or as a side dish: This recipe makes twenty delicious small stuffed peppers so it can serve quite a few people, especially as side dish. It’s easy to scale up or down to suit your needs.
- Vegetarian and gluten-free.

Looking for more recipes using bell peppers?
- Cilantro Lime Turkey Quinoa Stuffed Peppers
- Roasted Vegetable Orzo Pasta Salad
- Zucchini Gratin with Gruyere and Panko Breadcrumbs
- Broccoli Cheddar Pasta Salad with Italian Vinaigrette
I hope you try this recipe! If you make this recipe, please leave me a comment and rating below. Or you can tag me on any of my social media. I’m @yay_for_food on Instagram!


Zucchini Cream Cheese Mini Stuffed Peppers
Delicious cream cheese and sweet vegetables are the perfect filling for this mini stuffed bell pepper recipe. A quick and colourful vegetarian appetizer or side dish that’s gluten-free too!
Ingredients
- 10 baby bell peppers, cut lengthwise and seeded
- 8 oz (250 g) plain cream cheese, softened
- 1 medium zucchini (about 2 cups), diced
- ½ sweet onion (¾ cup), diced
- 1 tsp garlic powder
- 1 tsp dried oregano
- Salt and pepper, to taste
- ¼ cup walnuts, chopped
- 2 tbsp fresh basil, chopped
Instructions
- Preheat the oven to 400 degrees F. Line a large baking sheet with parchment paper. Set aside.
- In a medium bowl, fold together the cream cheese, zucchini, garlic powder, dried oregano, and salt and pepper until the ingredients are well distributed.
- Using a spoon, fill each pepper half with even amounts of the cream cheese mixture until the mixture is used up.
- Place each stuffed pepper on a baking sheet (filled-side up) and bake for 15-18 minutes, until the peppers are softened.
- Garnish with walnuts and basil. Best served immediately (warm).
Notes
- Nutritional information represents one serving (one stuffed mini pepper) for a total of 20 servings.
Recommended Products
As a participant in the Amazon Services LLC Associates Program, I only link to products that I use and/or highly recommend. As an Amazon Associate, I earn from qualifying purchases if you purchase through these links at no additional cost to you.

Nutrition Information:
Yield: 20 Serving Size: 1Amount Per Serving: Calories: 71Total Fat: 5gSaturated Fat: 2gTrans Fat: 0gUnsaturated Fat: 2gCholesterol: 12mgSodium: 53mgCarbohydrates: 6gFiber: 1gSugar: 3gProtein: 2g
Jessie
Thursday 9th of August 2018
I love stuffed peppers and the colors and flavors here sound amazing!
Marie | Yay! For Food
Thursday 9th of August 2018
Thanks Jessie!
Thao @ In Good Flavor
Friday 3rd of August 2018
These are adorable and summery too!! What a great idea to use zucchini in the cream cheese filling! This is the perfect vegetarian and gluten free option to add to any occasion.
Marie | Yay! For Food
Friday 3rd of August 2018
Thanks for all the kind words, Thao!
mimi
Thursday 2nd of August 2018
I love these! So interesting that you used zucchini in the filling! I can actually buy bags of these little peppers, so I need to get some now!
Marie | Yay! For Food
Friday 3rd of August 2018
Thanks Mimi. I like the flavour as well as texture that the zucchini gives. :)
heather (delicious not gorgeous)
Wednesday 1st of August 2018
these look like such a tasty app! and i love vegetable cream cheese (i was on a kick where i think i ate veggie cream cheese on a sesame bagel for breakfast for a month...), so i'm sure i'd love these (:
Marie | Yay! For Food
Wednesday 1st of August 2018
Thanks Heather!
David @ Cooking Chat
Friday 27th of July 2018
I love this festive appetizer recipe! I haven't tried using baby bell peppers, need to be on the lookout for some.
Marie | Yay! For Food
Friday 27th of July 2018
Thanks David!